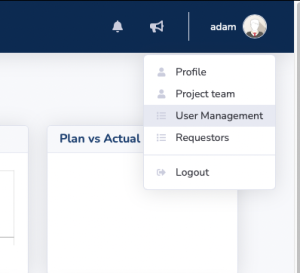
On the top right corner of the page, you will see your username.
Click on it and a dropdown appears.
Select User Management and this will bring you to the user overview page.
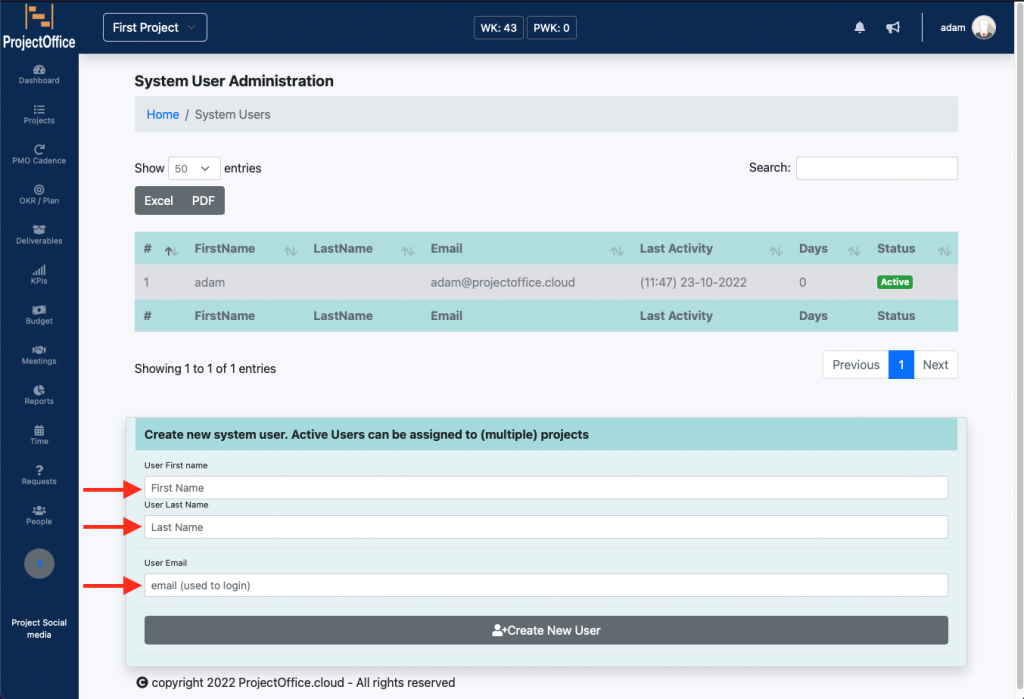
On the page you will see yourself and a form on the bottom.
Fill in the requested details like the new user:
– First Name
– Last Name
– Email address
The email address is used to login into the system, so that is the most important one.
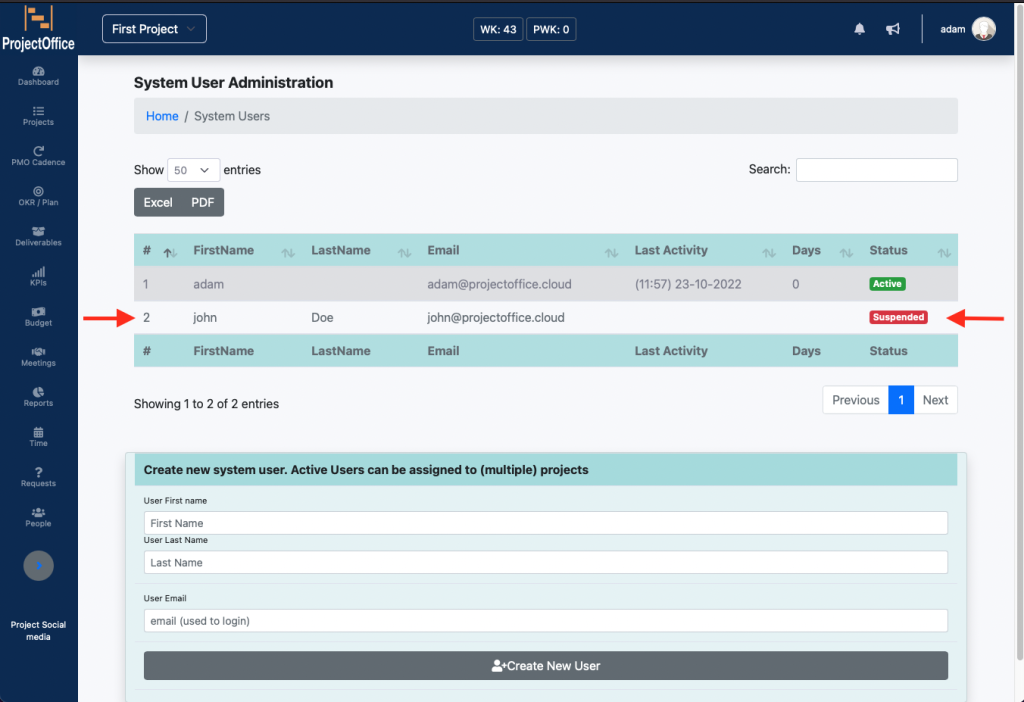
Click on create a user, and you will see the user added.
—
We have chosen this approach as we learned from experience that setting up a team is one, but having everyone starting at the same time, is another. This way, you can safely add and delete users without any impact (yet).
!!! Important to know !!!!
User can not be deleted, only deactivated!.
The reason for this is that fact remains that a user has done certain things, even if that person is not in the project anymore..
Step 2: Assign to project
The system can hold multiple projects over multiple programs, there is no limit to the amount of project you can keep in this subdomain.
What you want to do is that the user has the ability to work in the right project.
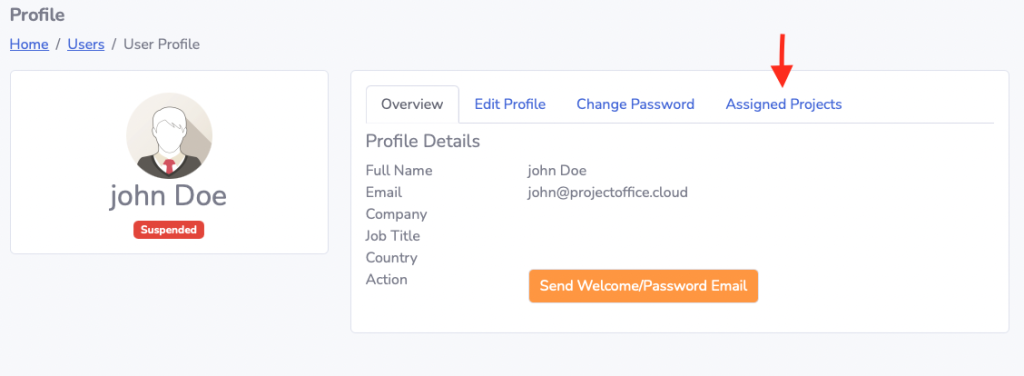
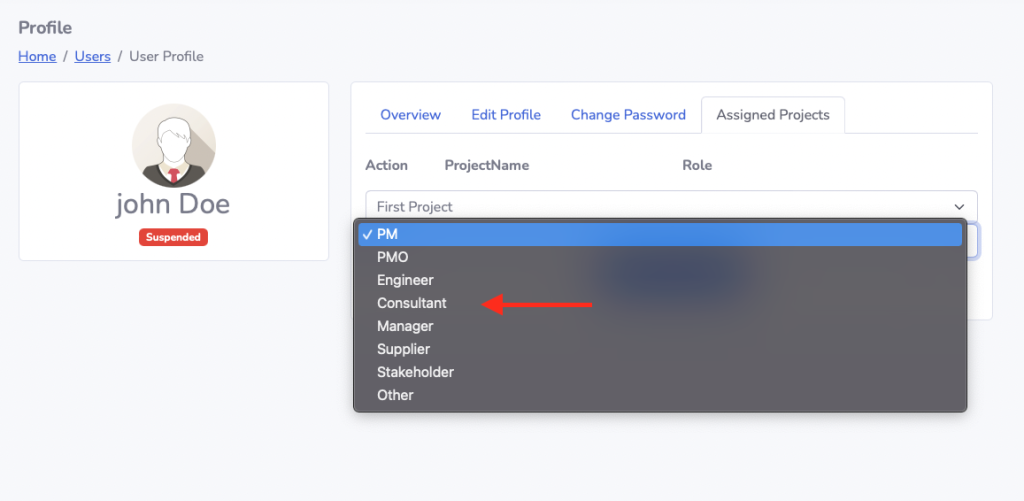
Once you click on the username in the overview, you will get to the user service page, click the tab: “assigned projects”.
You will be offered 2 dropdown boxes.
The top one will show the “active and subscribed” projects.
The bottom one will show the role this user can play.
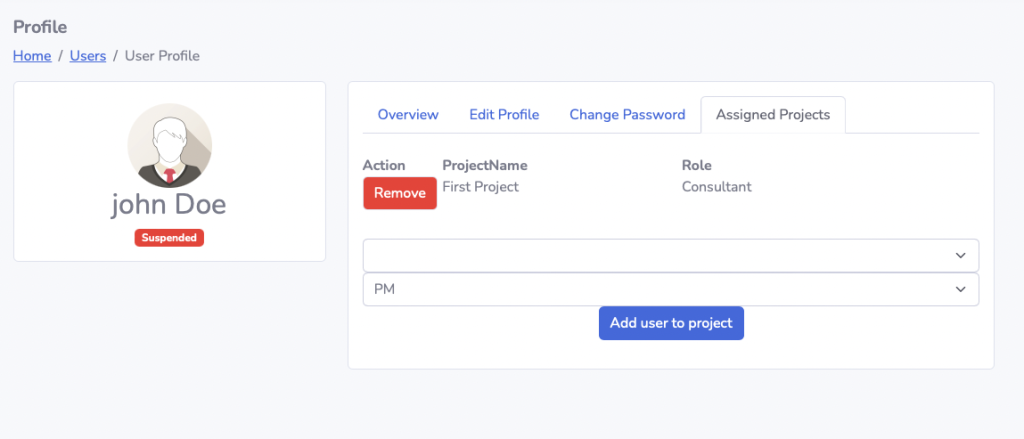
Select the right porject and role and click “Add user to project”
You will end up with the following situation as shown here on the right.
Keep on doing this for each project the user should be a member of.
Step 3: User activation
Once we have assigned all projects the user needs to be working on, it is time to actually give the user the ability to login.
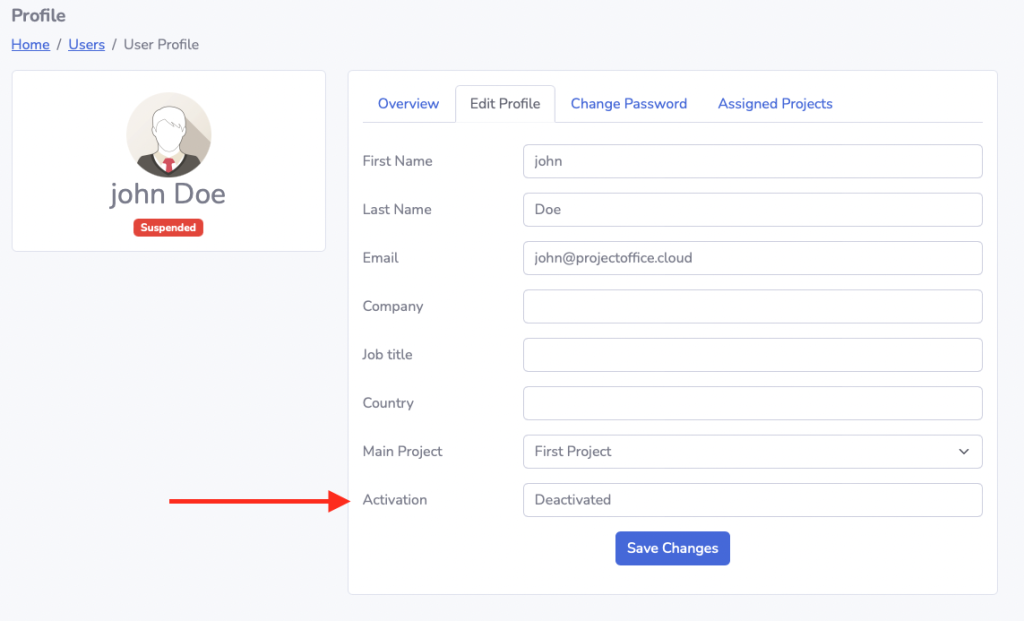
Select the tab “Edit Profile” and change the Activation setting to “Activated”.
Once you save the changes the user can start login in…
HOLD on!! We did not set a password!. Correct.
There is 2 ways: I describe the user friendly one:
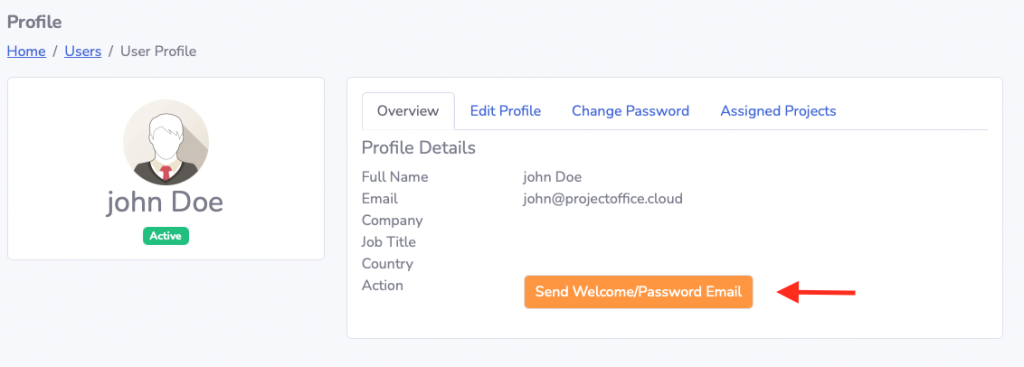
On the “Overview” TAB click on the big orange button that states: “Send Welcome/Password email”
The user will get an email to change his password. Once he follows that procedure. He can log in.
(sharp eyes have noticed the “Change password” Tab. That will also work fine)